Spring Boot Admin 在 Spring Boot Actuator 的基础上提供简洁的可视化
WEB UI,是用来管理 Spring Boot
应用程序的一个简单的界面,提供如下功能:
- 显示 name/id 和版本号
- 显示在线状态
- Logging 日志级别管理
- JMX beans 管理
- Threads 会话和线程管理
- Trace 应用请求跟踪
- 应用运行参数信息,如:
- Java 系统属性
- Java 环境变量属性
- 内存信息
- Spring 环境属性
在本文中,我们将介绍配置 Spring Boot Admin(以下简称
SBA)服务端的步骤以及如何将一个 Spring Boot 应用注册为它的客户端。
快速上手
首先我们需要创建一个 SBA 的服务端。
服务端
创建一个简单的 Spring Boot Web 应用程序并添加以下依赖
1
2
3
4
5
6
7
8
9
| <dependency>
<groupId>de.codecentric</groupId>
<artifactId>spring-boot-admin-starter-server</artifactId>
<version>2.0.1</version>
</dependency>
<dependency>
<groupId>org.springframework.cloud</groupId>
<artifactId>spring-cloud-starter-netflix-eureka-client</artifactId>
</dependency>
|
然后我们就可以将 @EnableAdminServer
添加到我们的主类中
1
2
3
4
5
6
7
8
| @EnableAdminServer
@SpringBootApplication
public class AdminServerApplication {
public static void main(String[] args) {
SpringApplication.run(AdminServerApplication.class, args);
}
}
|
配置服务端口等信息
1
2
3
4
5
6
7
8
9
| spring:
application:
name: admin-server
server:
port: 18080
eureka:
client:
service-url:
defaultZone: ${EUREKA_SERVICE_URL:http://localhost:7000}/eureka/
|
此时,SBA Server 已经好了,直接启动它。
客户端
在建立了我们的服务端之后,我们可以将一个 Spring Boot
应用程序注册为客户端。 注册客户端有两种方式,一种就是通过引入 SBA
Client,另外一种是基于 Spring Cloud Discovery。
我们这里先介绍通过引入 SBA Client 的方式。
SBA Client
首先要引入以下依赖:
1
2
3
4
5
| <dependency>
<groupId>de.codecentric</groupId>
<artifactId>spring-boot-admin-starter-client</artifactId>
<version>2.0.1</version>
</dependency>
|
然后在配置文件 application.yml 中配置以下信息
1
2
3
4
5
6
7
8
9
10
11
12
13
14
15
16
17
18
19
20
21
22
23
| spring:
application:
name: user
boot:
admin:
client:
url: http://localhost:18080
eureka:
instance:
leaseRenewalIntervalInSeconds: 10
health-check-url-path: /actuator/health
client:
registryFetchIntervalSeconds: 5
service-url:
defaultZone: ${EUREKA_SERVICE_URL:http://localhost:7000}/eureka/
management:
endpoints:
web:
exposure:
include: '*'
endpoint:
health:
show-details: ALWAYS
|
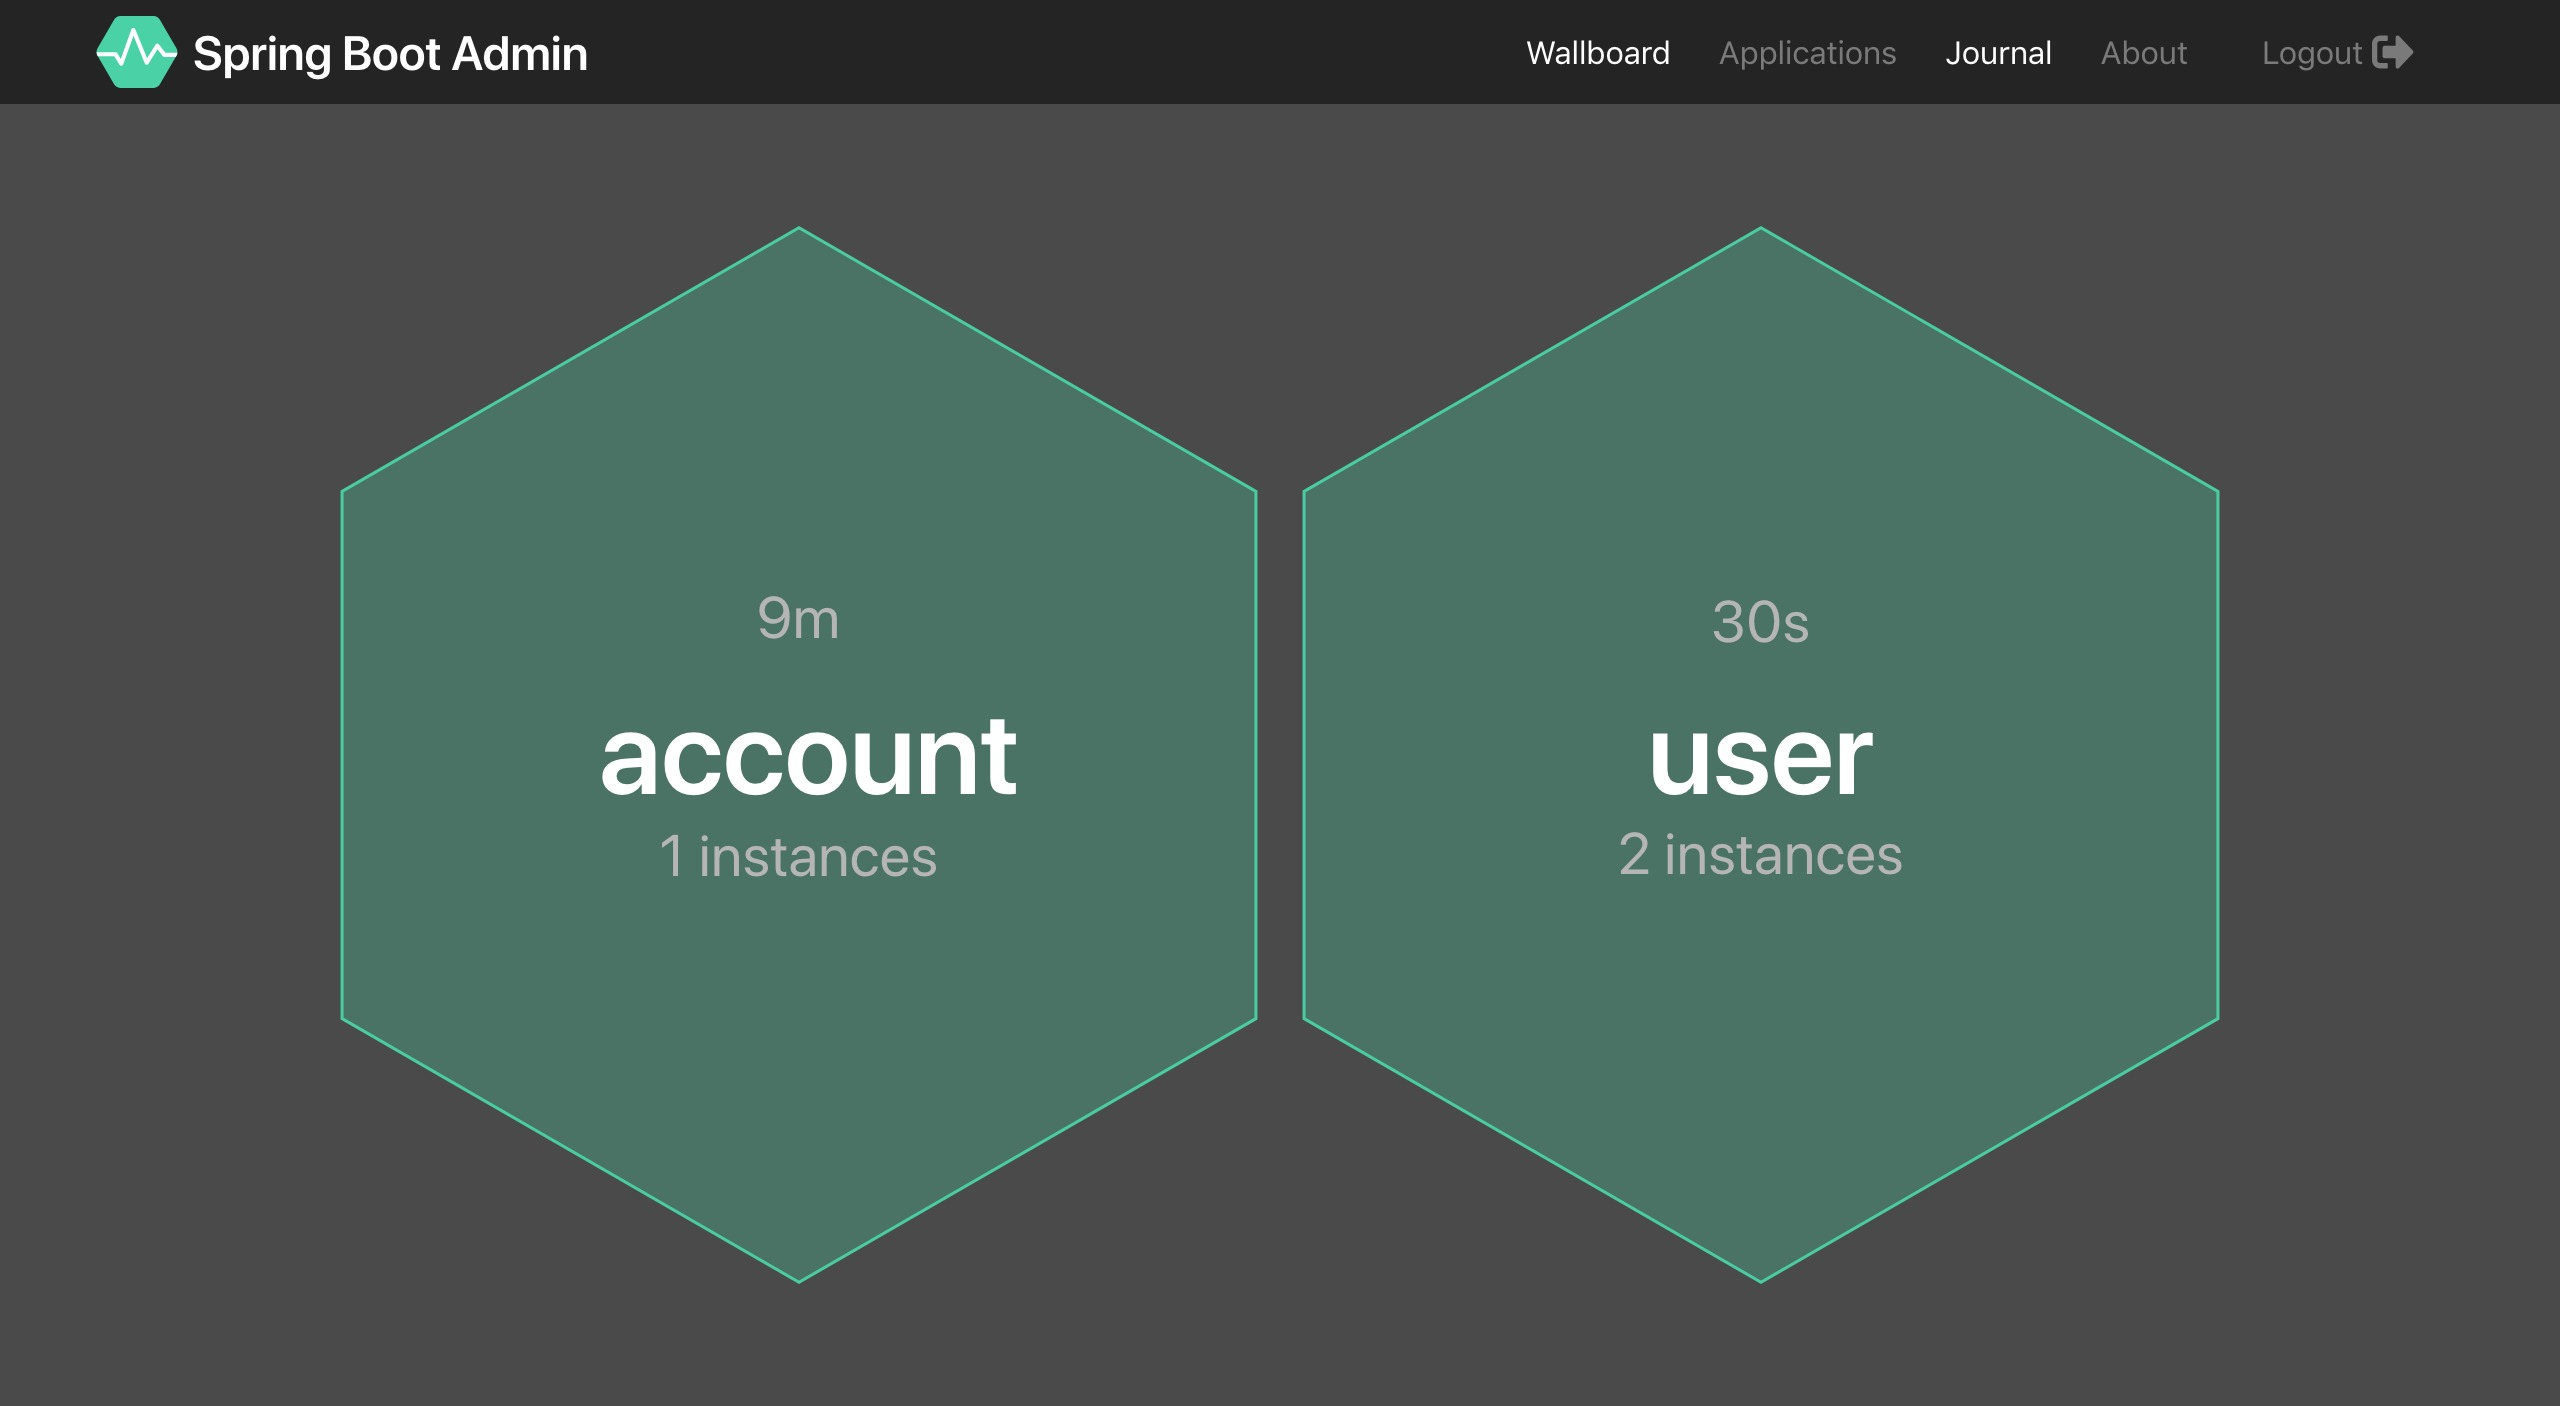
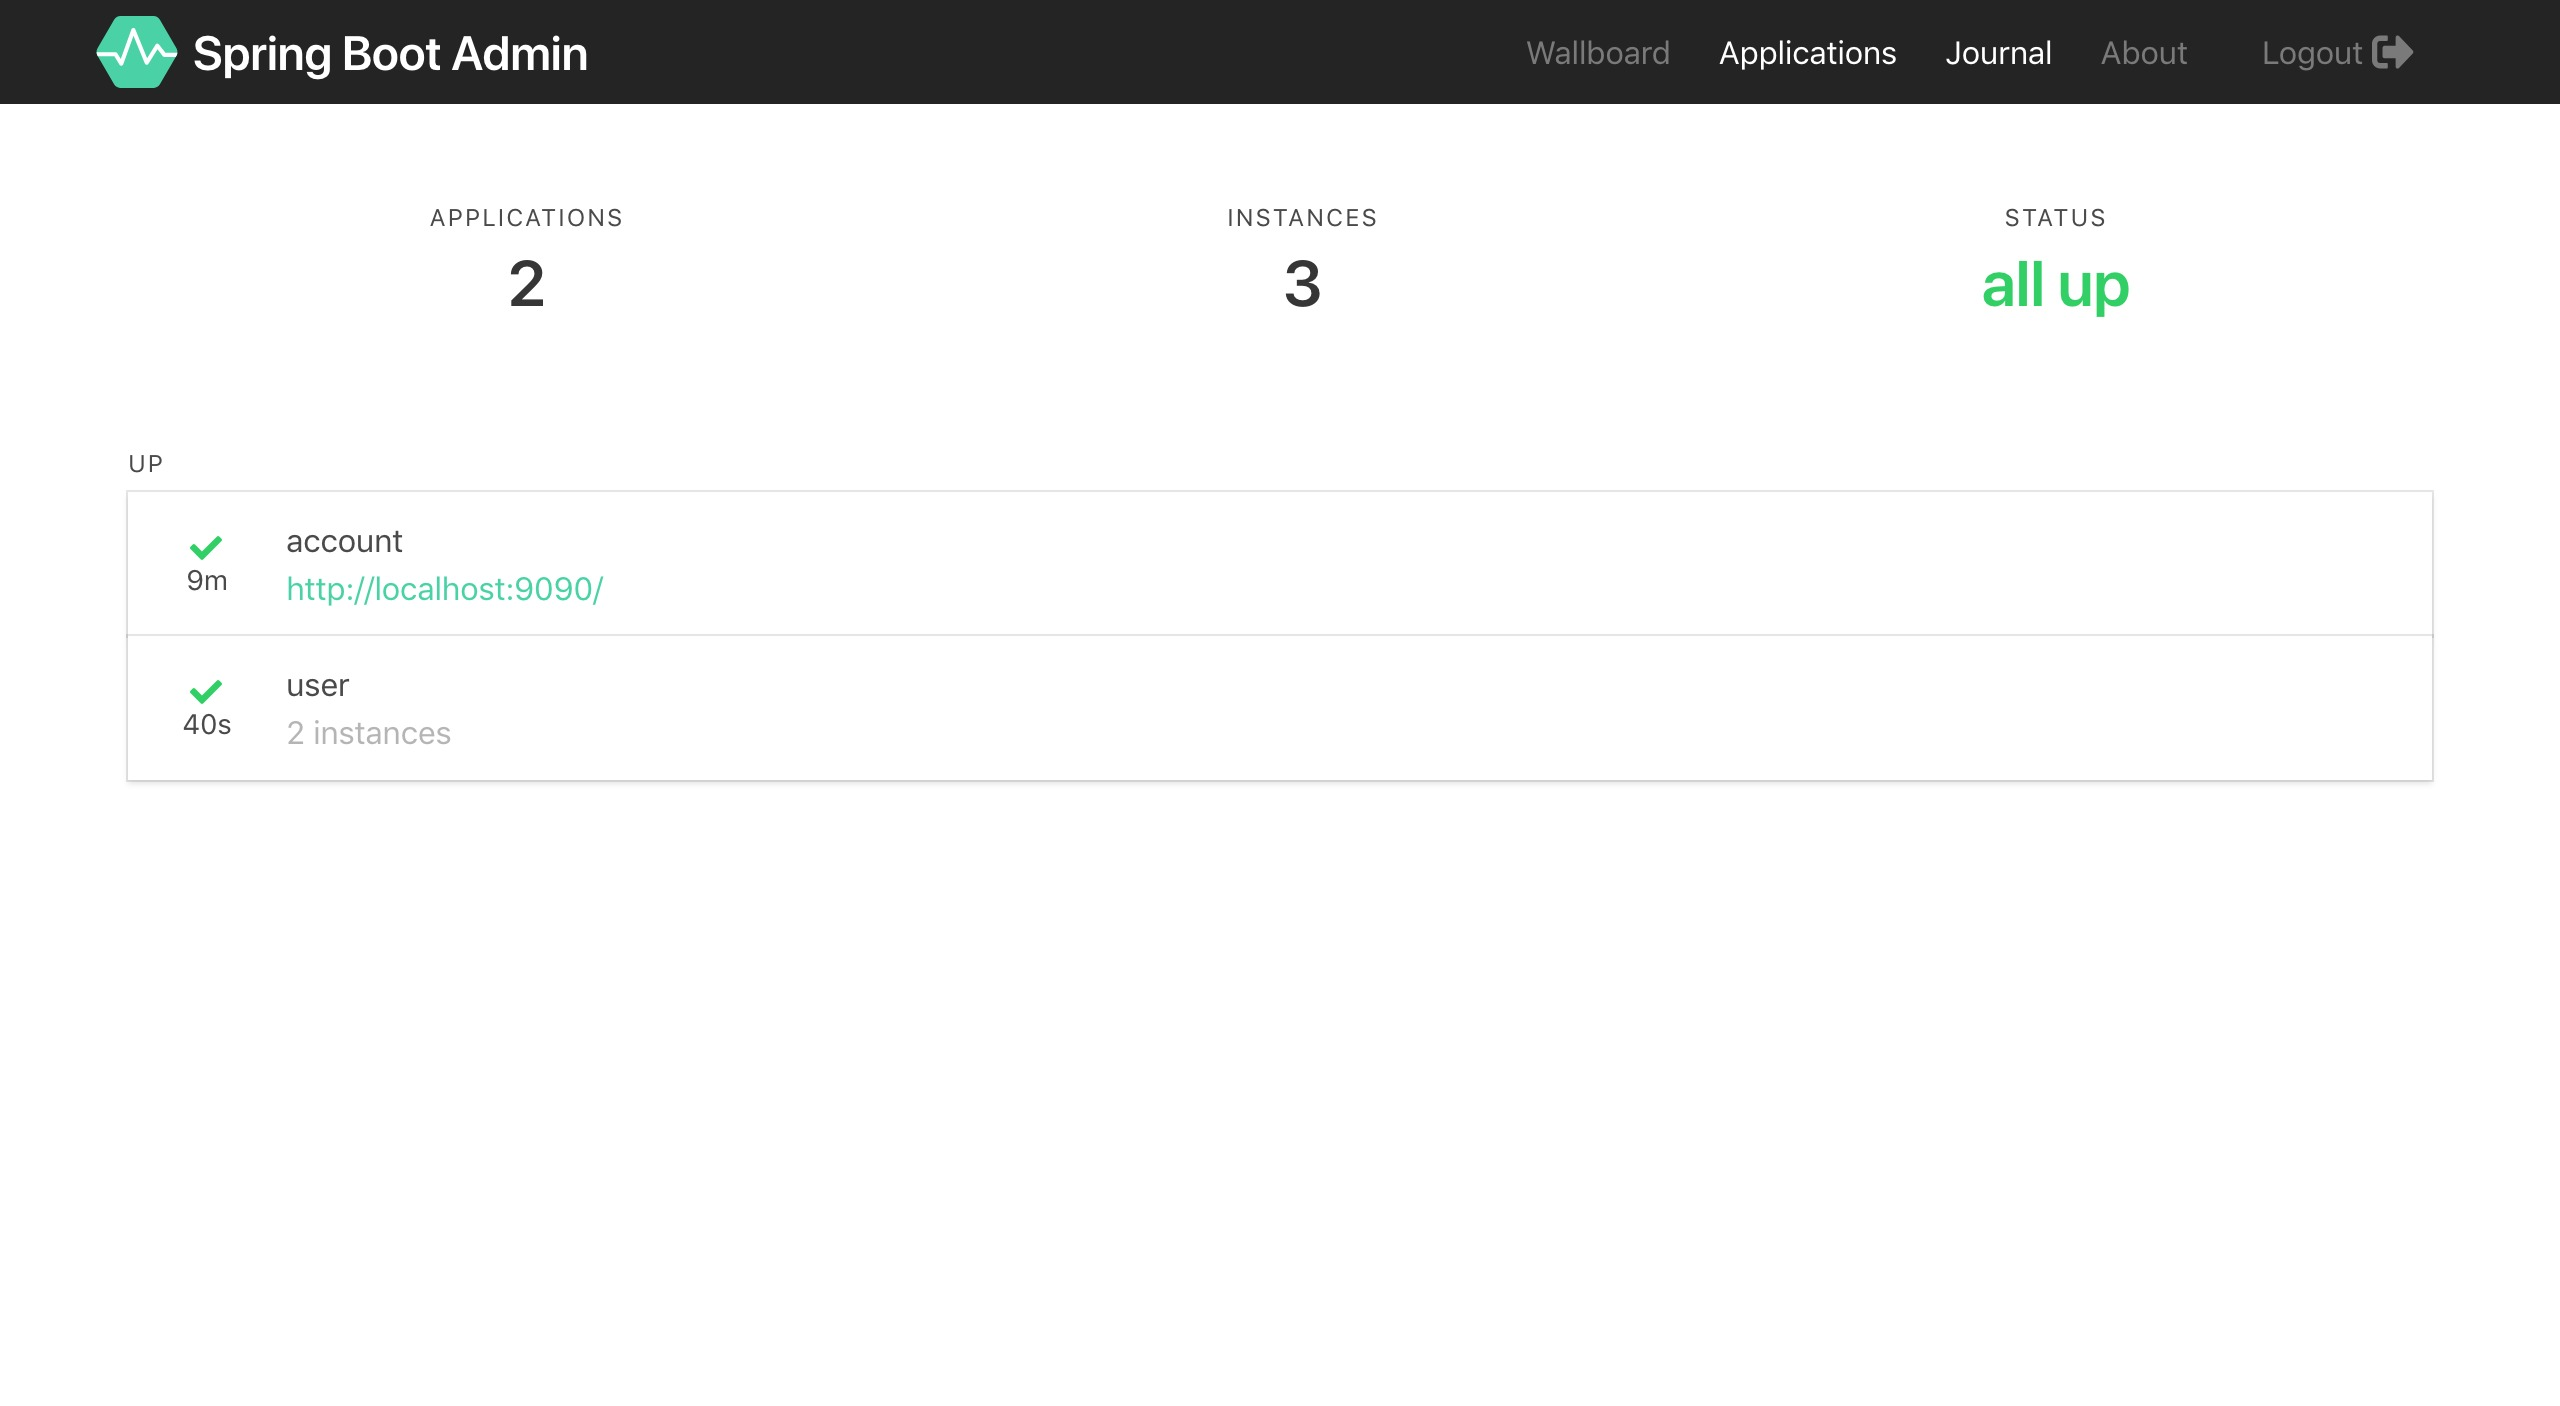
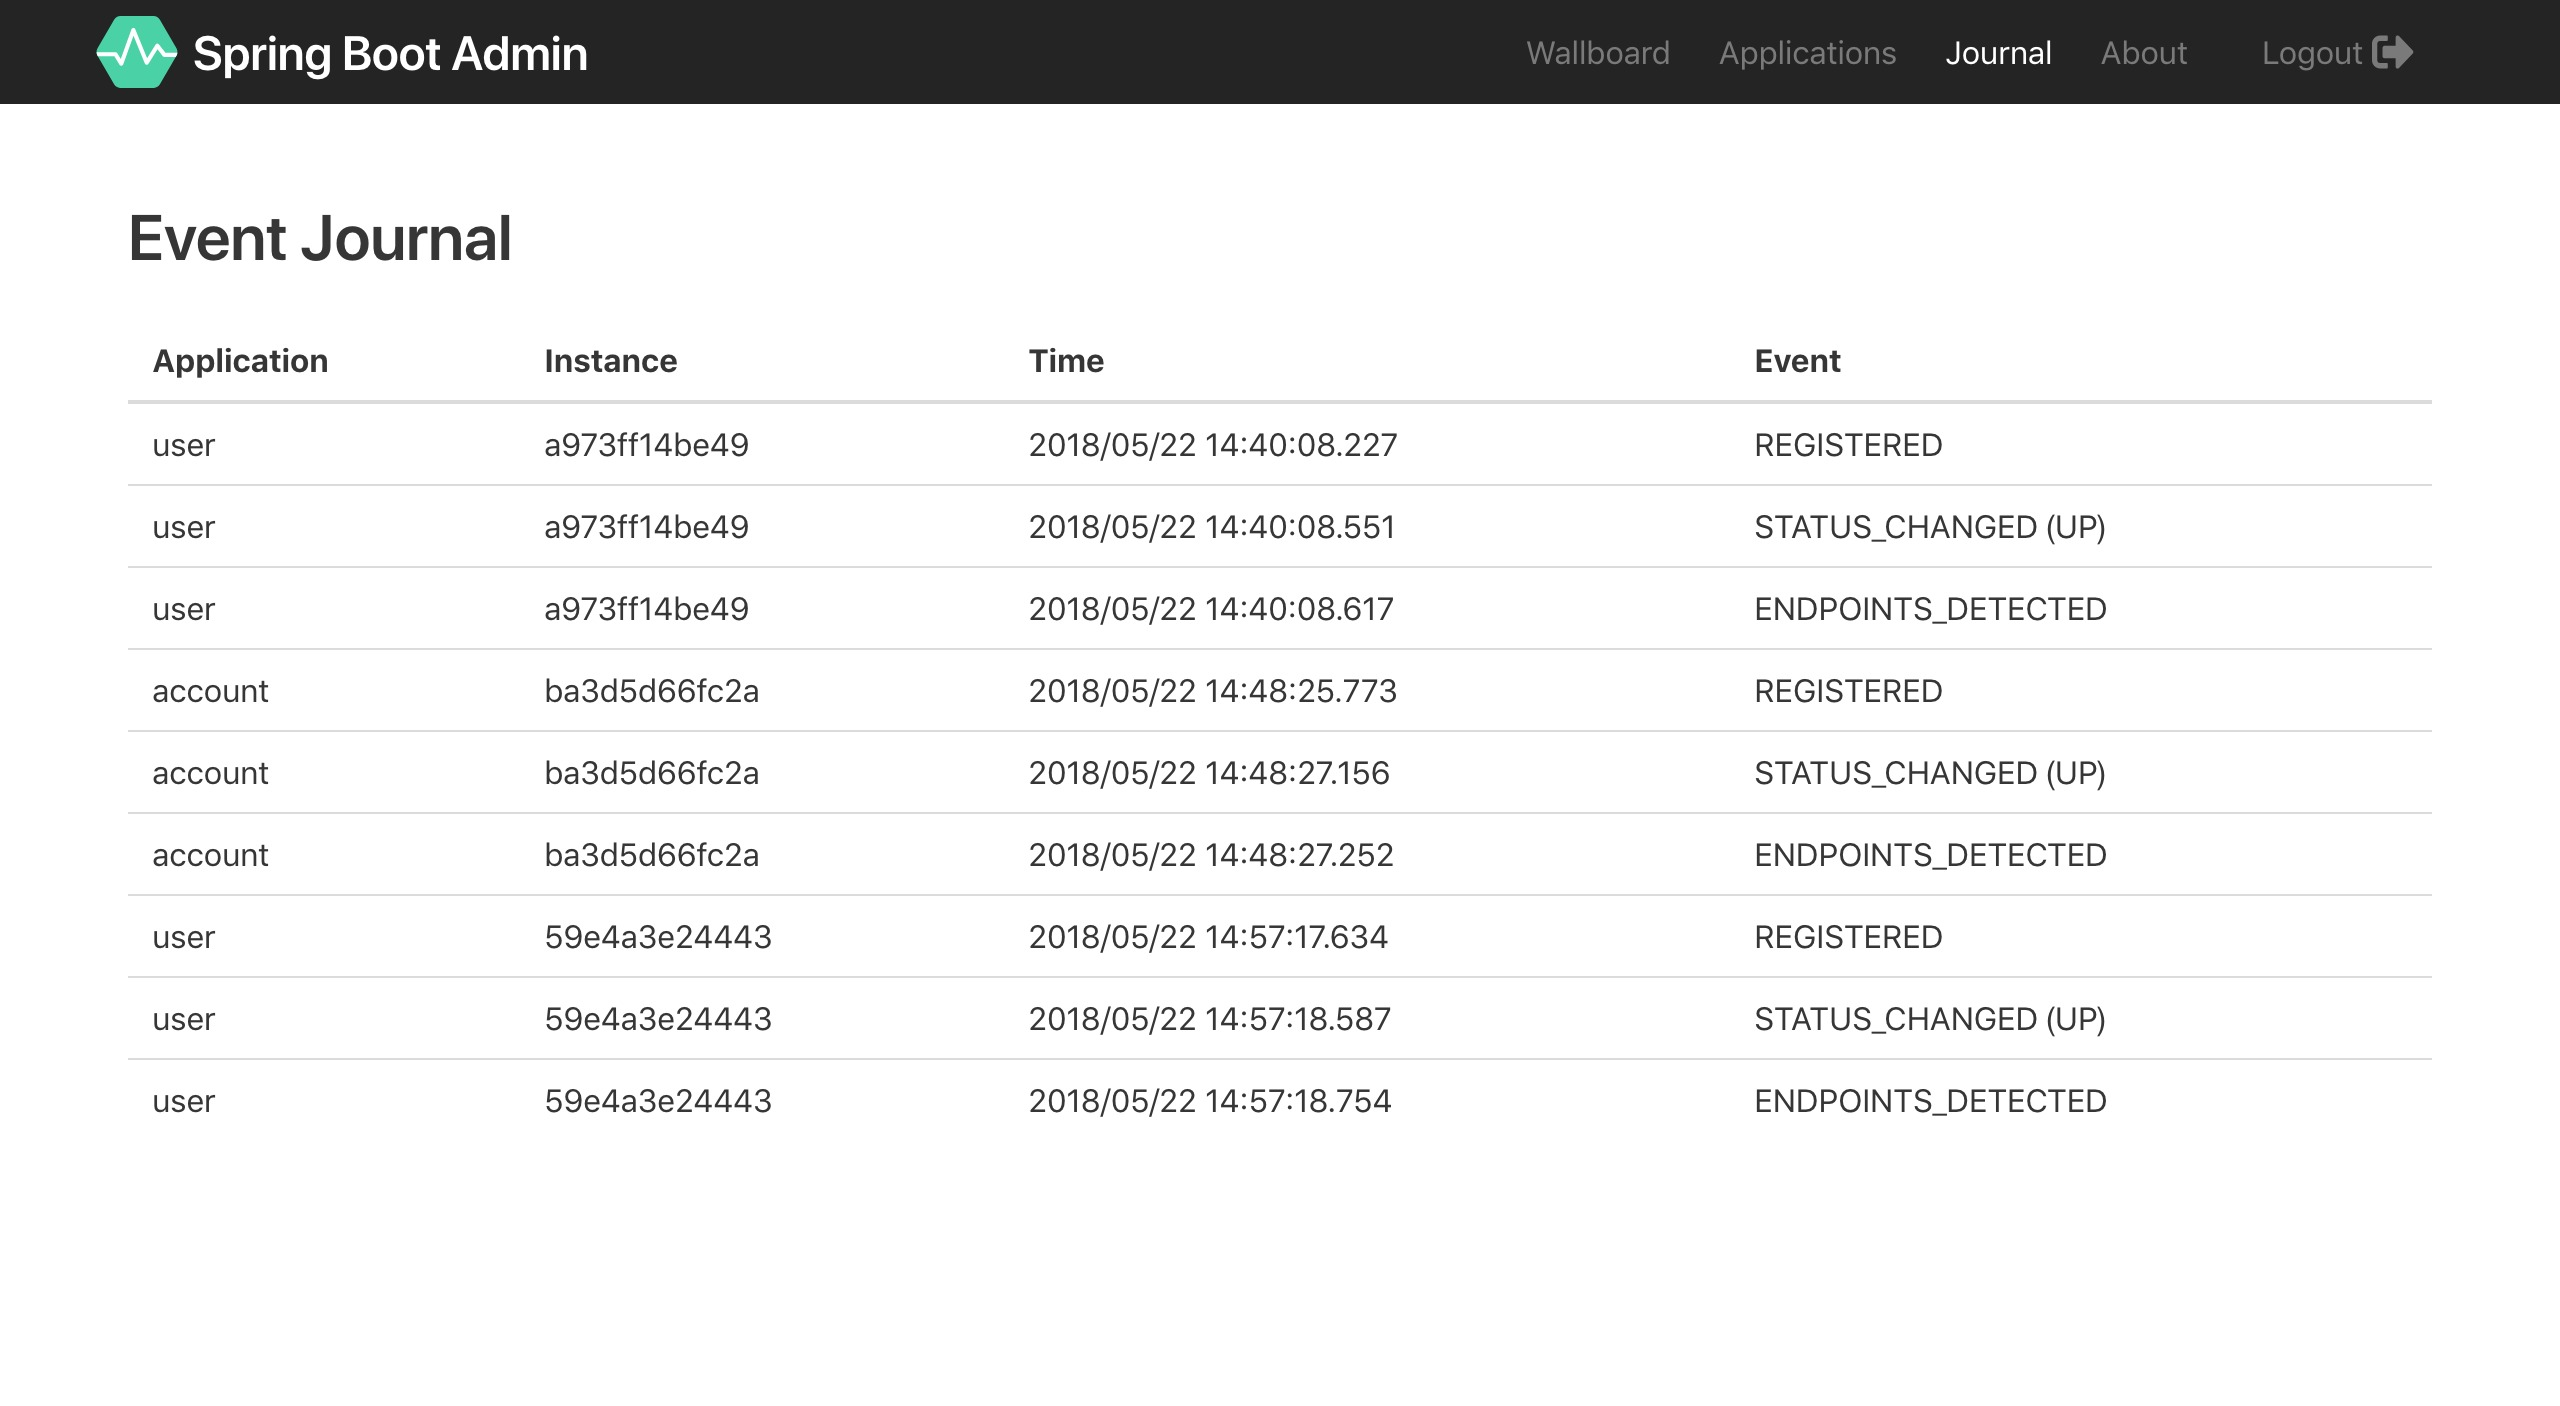
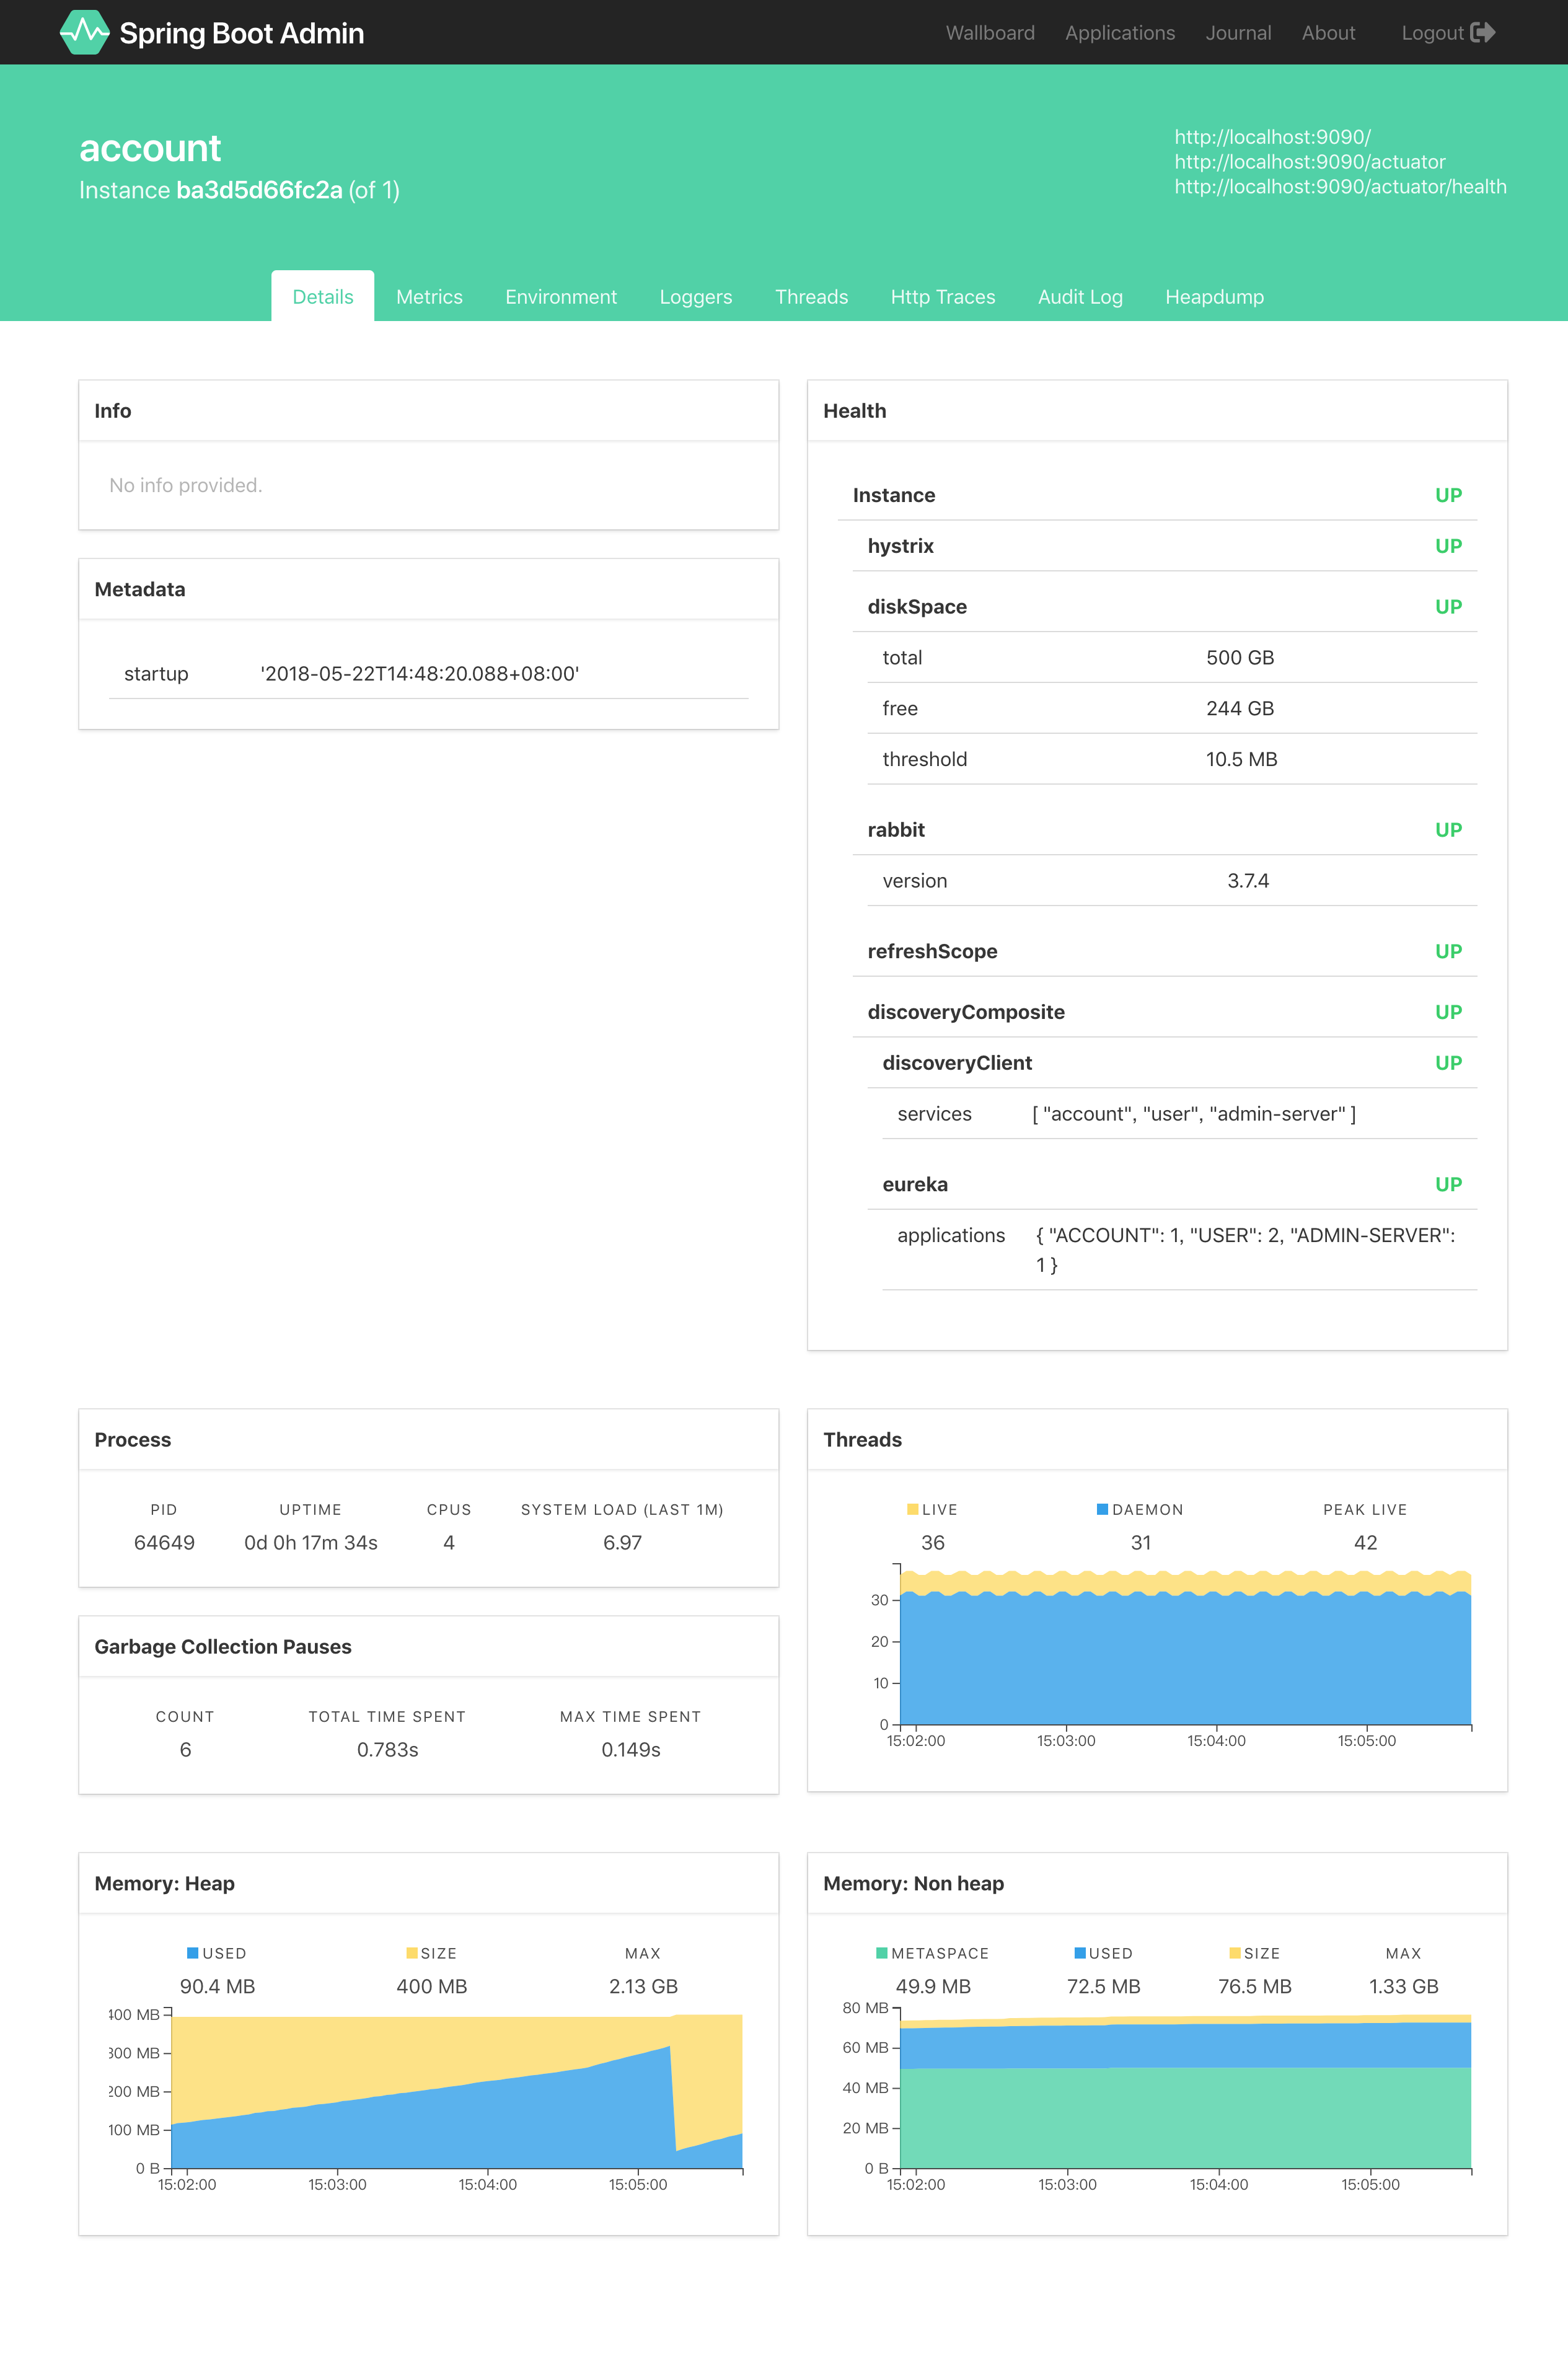
现在客户端也就配置好了,启动客户端再次访问 http://localhost:18080
就能看到以下界面(启动了多个客户端)
Wallboard:
Applications:
Journal:
Instance details:
Spring Cloud Discovery
如果我们的项目中使用了 Spring Cloud,那么我们其实并不用通过 SBA
Client 来向 SBA 注册,而是让 SBA 通过注册中心(Eureka、Consul
等)来发现服务。
这里以 Eureka 作为注册中心来说明。我们首先向 SBA
服务端以及客户端中添加 Eureka Client 的依赖
1
2
3
4
| <dependency>
<groupId>org.springframework.cloud</groupId>
<artifactId>spring-cloud-starter-netflix-eureka-client</artifactId>
</dependency>
|
然后照常在 application.yml 中配置 Eureka 的注册信息,如下
1
2
3
4
5
6
7
8
9
10
11
12
13
14
15
16
| eureka:
instance:
leaseRenewalIntervalInSeconds: 10
health-check-url-path: /actuator/health
client:
registryFetchIntervalSeconds: 5
serviceUrl:
defaultZone: ${EUREKA_SERVICE_URL:http://localhost:8761}/eureka/
management:
endpoints:
web:
exposure:
include: '*'
endpoint:
health:
show-details: ALWAYS
|
这个配置就不多做解释了,不懂的可以看之前关于 Eureka 的文章。
然后分别启动 SBA 服务端和客户端,就能看的和使用 SBA Client
一样的效果了。
安全配置
SBA 服务端可以访问客户端的敏感端点,因此手册上
建议我们应该为服务端和客户端添加一些安全配置。
首先我们先为服务端增加安全配置。
服务端的安全配置
向服务端添加 Spring Security 依赖
1
2
3
4
| <dependency>
<groupId>org.springframework.boot</groupId>
<artifactId>spring-boot-starter-security</artifactId>
</dependency>
|
之后,我们需要新增一个安全配置类
1
2
3
4
5
6
7
8
9
10
11
12
13
14
15
16
17
18
19
20
21
22
23
24
25
26
27
28
| @Configuration
public class SecuritySecureConfig extends WebSecurityConfigurerAdapter {
private final String adminContextPath;
public SecuritySecureConfig(AdminServerProperties adminServerProperties) {
this.adminContextPath = adminServerProperties.getContextPath();
}
@Override
protected void configure(HttpSecurity http) throws Exception {
SavedRequestAwareAuthenticationSuccessHandler successHandler = new SavedRequestAwareAuthenticationSuccessHandler();
successHandler.setTargetUrlParameter("redirectTo");
http.authorizeRequests()
.antMatchers(adminContextPath + "/assets/**").permitAll()
.antMatchers(adminContextPath + "/login").permitAll()
.anyRequest().authenticated()
.and()
.formLogin().loginPage(adminContextPath + "/login").successHandler(successHandler).and()
.logout().logoutUrl(adminContextPath + "/logout").and()
.httpBasic().and()
.csrf().disable();
}
}
|
然后通过配置文件设置账号密码
1
2
3
4
5
| spring:
security:
user:
name: 'admin'
password: 'admin'
|
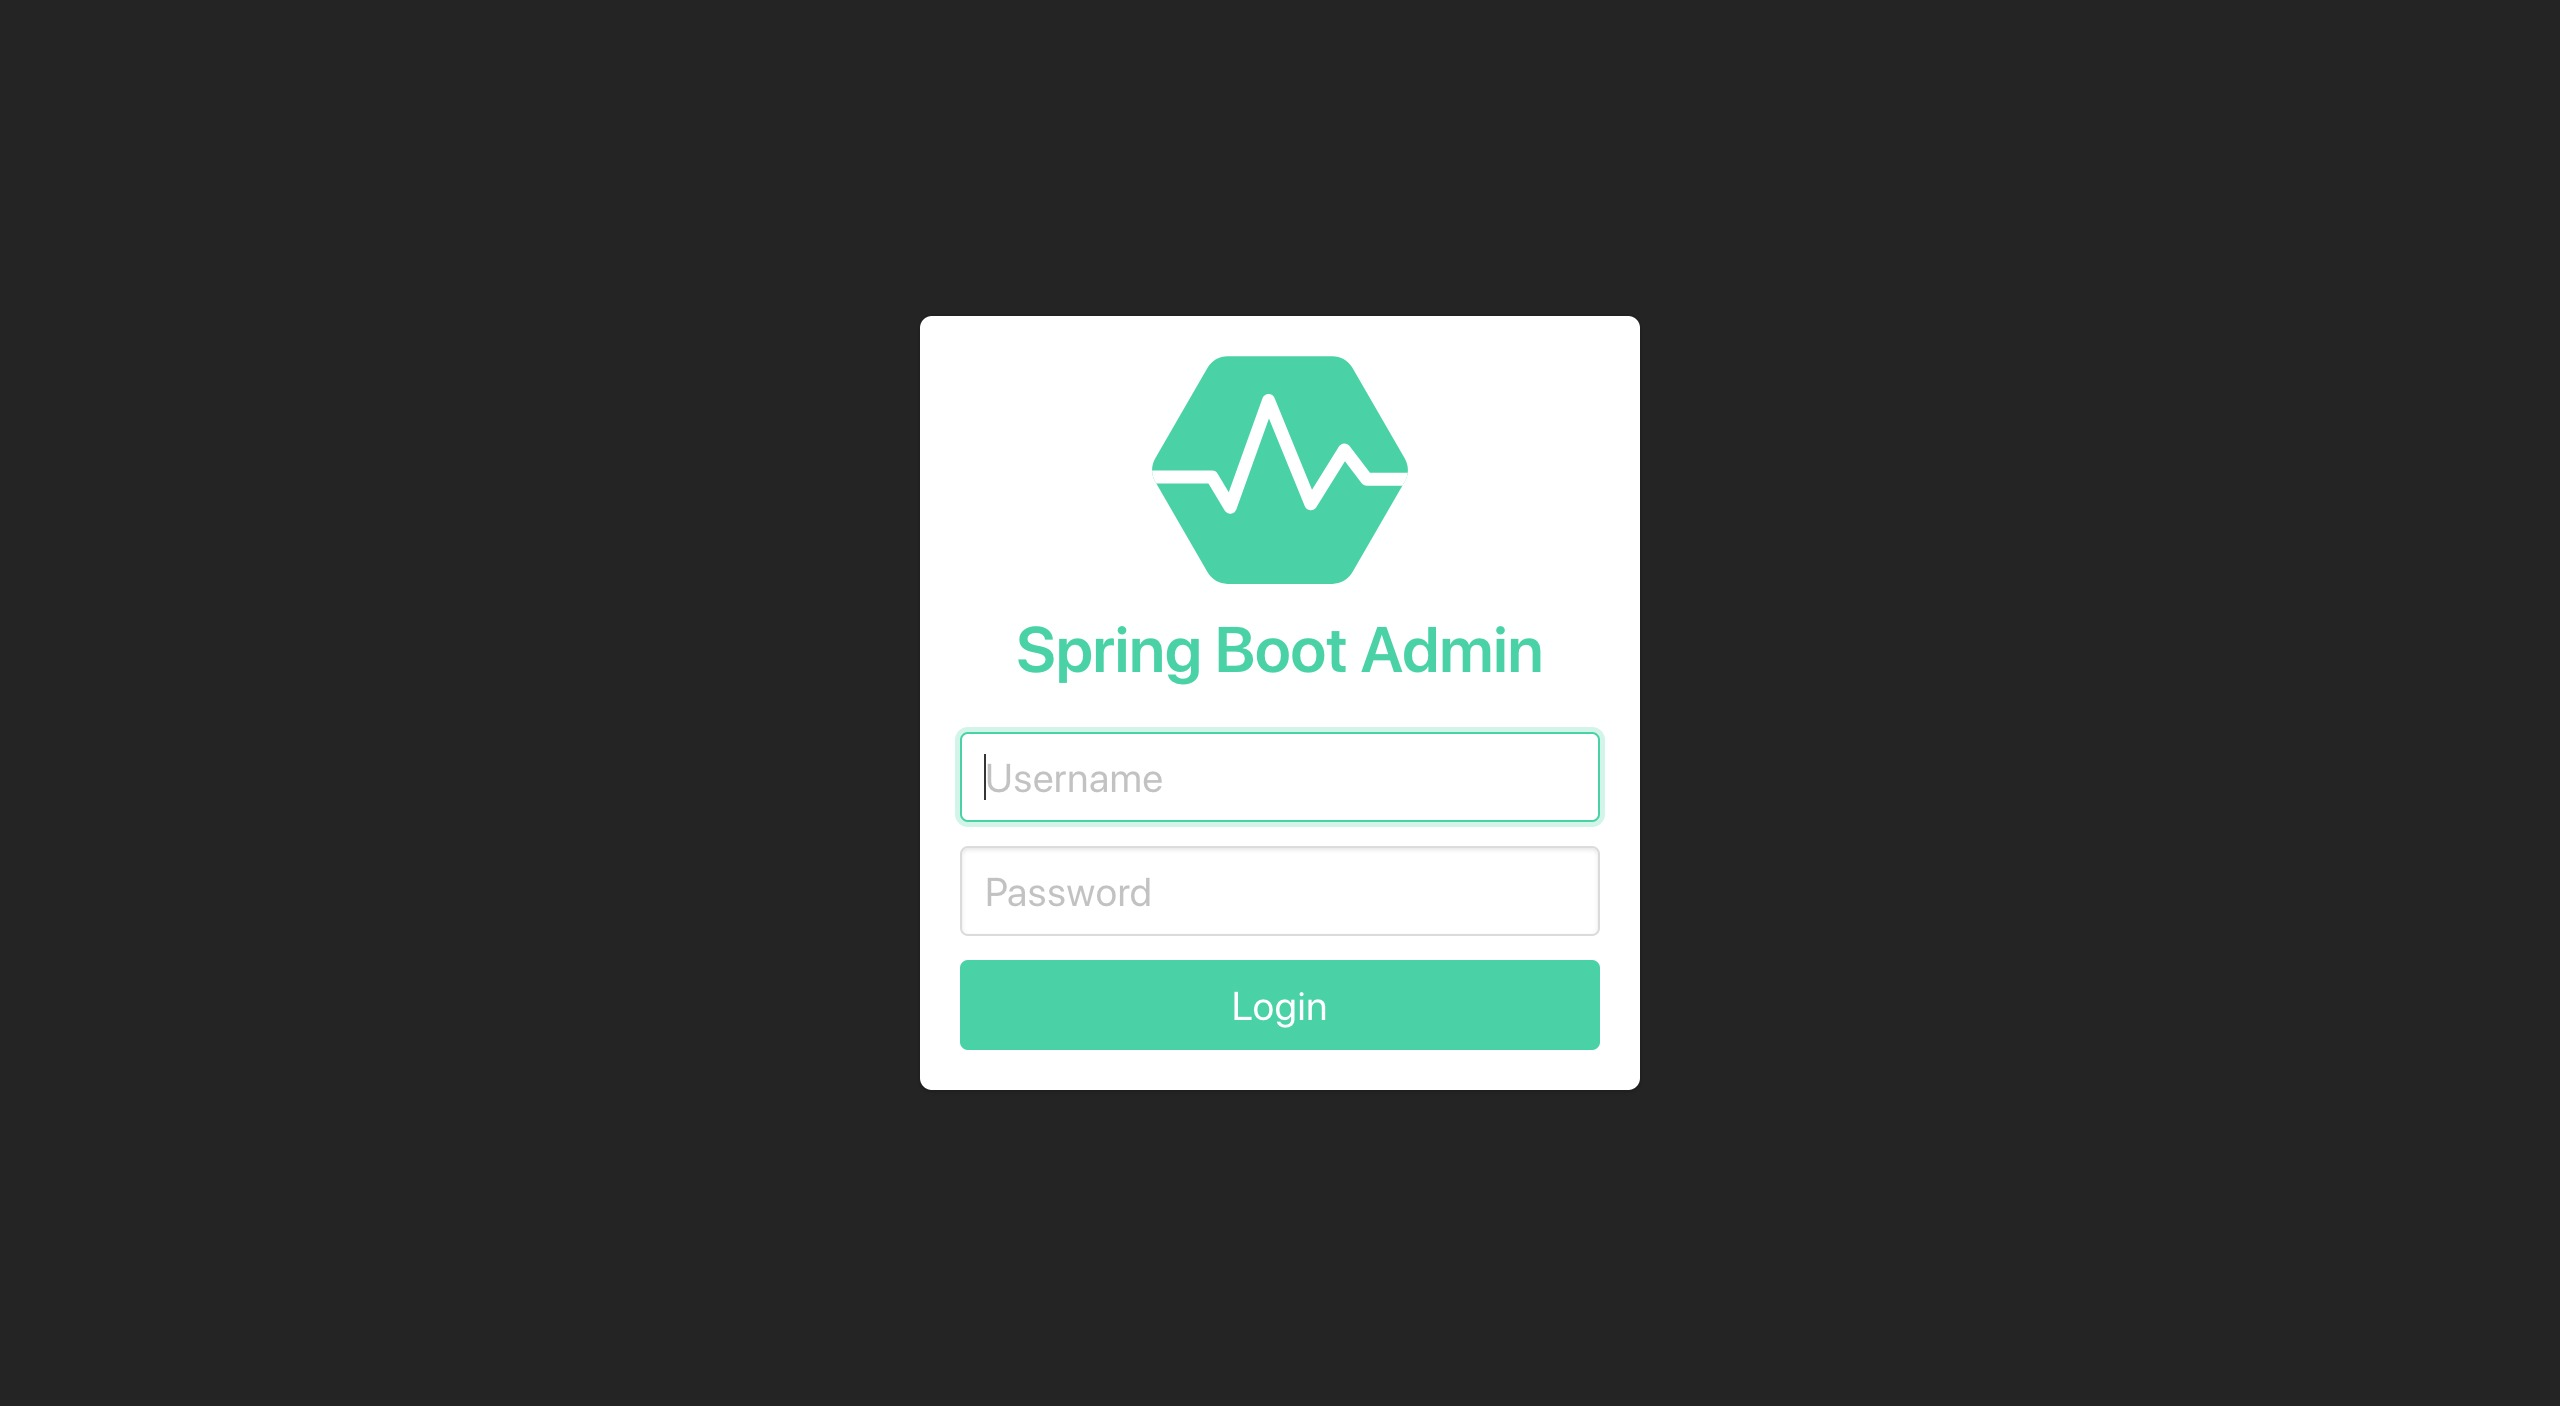
这样,一个简单的安全配置就生效了。这时我们再访问
http://localhost:18080 就会发现需要认证了。
如果这时你的客户端是使用的 SBA Client
的方式,你会注意到客户端这时已无法再注册到服务端了(Spring Cloud
Discovery
的话不受影响)。为了能将客户端注册到服务端,我们还必须在客户端的配置文件中添加以下内容:
1
2
3
| spring.boot.admin.client:
username: 'admin'
password: 'admin'
|
下面我们来为客户端增加安全配置。
客户端的安全配置
可能你也想到了,因为 SBA
客户端的注册方式有两种,所以在客户端的安全配置上也是分为了两种。
SBA Client
首先在客户端的配置文件中新增以下内容
1
2
3
4
5
6
7
8
9
10
11
12
13
14
15
16
17
| spring:
application:
name: user
security:
user:
name: 'client'
password: 'client'
boot:
admin:
client:
url: http://localhost:18080
username: 'admin'
password: 'admin'
instance:
metadata:
user.name: ${spring.security.user.name}
user.password: ${spring.security.user.password}
|
然后再在服务端的配置中增加以下内容
1
2
3
4
5
| eureka:
instance:
metadata-map:
user.name: 'client'
user.password: 'client'
|
OK,重启 SBA Server 和 Clients 再试试看吧。
Spring Cloud Discovery
这种方式和使用 SBA Client
的配置文件有些类似,以免产生混淆,我这里直接贴完整的配置了。 (重点关注
eureka.instance.metadata-map)
SBA 客户端:
1
2
3
4
5
6
7
8
9
10
11
12
13
14
15
16
17
18
19
20
21
22
23
24
25
26
| spring:
application:
name: user
security:
user:
name: 'client'
password: 'client'
eureka:
instance:
leaseRenewalIntervalInSeconds: 10
health-check-url-path: /actuator/health
metadata-map:
user.name: ${spring.security.user.name}
user.password: ${spring.security.user.password}
client:
registryFetchIntervalSeconds: 5
service-url:
defaultZone: ${EUREKA_SERVICE_URL:http://localhost:7000}/eureka/
management:
endpoints:
web:
exposure:
include: '*'
endpoint:
health:
show-details: ALWAYS
|
SBA 服务端:
1
2
3
4
5
6
7
8
9
10
11
12
13
14
15
16
17
18
19
20
21
22
23
24
25
26
27
28
29
| spring:
application:
name: admin-server
security:
user:
name: 'admin'
password: 'admin'
server:
port: 18080
eureka:
client:
registryFetchIntervalSeconds: 5
service-url:
defaultZone: ${EUREKA_SERVICE_URL:http://localhost:7000}/eureka/
instance:
leaseRenewalIntervalInSeconds: 10
health-check-url-path: /actuator/health
metadata-map:
user.name: ${spring.security.user.name}
user.password: ${spring.security.user.password}
management:
endpoints:
web:
exposure:
include: '*'
endpoint:
health:
show-details: ALWAYS
|
在进行安全配置的时候,我们会频繁接触
metadataMap,这里就简单介绍一下吧。
Eureka 中的 metadataMap
是专门用来存放一些自定义的数据,当注册中心或者其他服务需要此服务的某些配置时可以在
metadataMap 里取。实际上,每个 instance 都有各自的 metadataMap,map
中存放着需要用到的属性。例如,上面配置中的
eureka.instance.metadata-map.user.name,当这个服务成功注册到
Eureka 上,Spring Boot Admin 就会取拿到这个 instance,进而拿到
metadataMap 里的属性,然后放入请求头,向此服务发送请求,访问此服务的
Actuator 开放的端点。
关于 SBA 的更多认证方式可以参见 joshiste/spring-boot-admin-samples
通知
当客户端(已注册到服务端)发生某些事件的时候,我们可以接收到通知。目前有以下通知方式可供使用:
- Email
- PagerDuty
- OpsGenie
- Hipchat
- Slack
- Let’s Chat
- Microsoft Teams
- Telegram
这里我们主要来关注一下邮件通知。邮件通知会发送一个由 Thymeleaf 模板渲染的 HTML
文档,就像下边这样
 Sample Mail Notification
要使用邮件通知,我们首先需要添加
spring-boot-starter-mail 依赖
1
2
3
4
| <dependency>
<groupId>org.springframework.boot</groupId>
<artifactId>spring-boot-starter-mail</artifactId>
</dependency>
|
然后配置 JavaMailSender
1
2
3
4
5
6
7
8
9
10
| spring:
mail:
host: smtp.example.com
username: smtp_user
password: smtp_password
boot:
admin:
notify:
mail:
to: admin@example.com
|
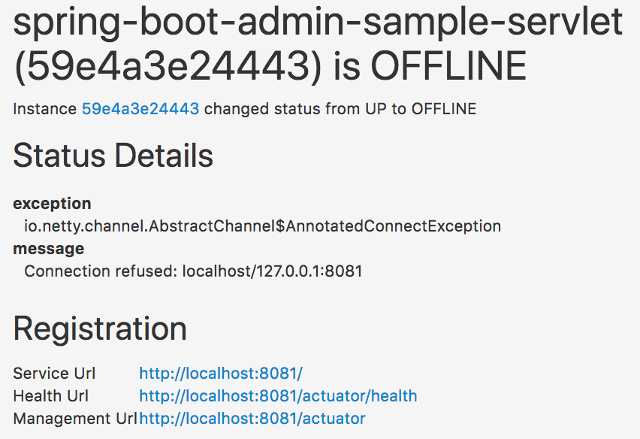
做完以上配置后,只要我们已注册的客户端的状态从 UP 变为 OFFLINE
或其他状态,服务端就会自动将电子邮件发送到上面配置的地址。其他的通知配置也类似。
示例代码:https://github.com/zhaoyibo/spring-cloud-study/tree/master/admin
注:示例代码中的 cloud-account 采用 SBA Client,而
cloud-user 采用 Spring Cloud Discovery。
参考
Spring Boot
Admin Reference Guide A Guide to Spring Boot
Admin